Most of us build our projects multiple times daily. Ah well, We have a good old button for that. It's so easy, isn't it?

Have you ever wondered what happens when we build our project? Are you curious? Go on.
Some of the ways to build an iOS project are as follows:
- Xcode
- xcodebuild (command line) & Fastlane (used xcodebuild under the hood)

- Manual scripting
- Use Individual tools
You can download all the tools in the manual scripting section and process the intermediates by yourself. That's too much technical, I am scared 😉
Let's dig in and find out what 'xcodebuild' does behind the scenes.

We're going to create an Xcode project to understand it better.

Typically every project consists of the following:
- Swift/Objc/c/cpp Classes
- Storyboards and Xibs
- xcassets
- Info.plist
- Other resouces like strings file, plists, json files, etc.
Following steps are involved in building any ios app:

Based on the above steps, let's create a dependency graph for our sample app.

This gives us a good overview of how resources in our app are compiled and fed into the linker.
Let's get into more detail of each step and understand it better:
1. Compile Swift classes (swiftc + LLVM)

Every .swift class is converted into its .o representation by using swiftc + LLVM.
The swift build pipeline is given below:

swiftc processes swift files in following steps:

- SIL Generation (lib/SILGen)

- Optimisations & IR Generator (lib/Analysis,lib/ARC,lib/Transforms, etc.)

- LLVM Core & Optimizations (lib/IRGen)

In the end .o file is fed to the linker to attach in the app executable.
2. Compile Objc Classes (clang + LLVM)

Every Objc class is converted into it's .o representation by using clang + LLVM.
The Objc build pipeline is given below:

- Parsing and Semantic Analysis

- IR Generator

- LLVM Core and Optimisations

In the end .o file is fed to the linker to attach in the app executable.
3. Compile Storyboards and Xib's (ibtool)
Both storyboards and Xibs are XML based interface builders which are compiled with the help of ibtool to be converted to .storyboardc and .nib files respectively.


4. Compile asset catalogs

The car file can contain multiple images for a given asset name: @1x resolution, @2x resolution, @3x resolution, dark mode, … These representations of the asset are called renditions. Each rendition has a unique identifier called the rendition key. The rendition key is in fact a list of attributes describing the properties of the rendition: original facet, resolution, …
There are multiple closed source tools to deal with asset catalogs:
- Xcode - lets you create, edit xcassets files
- actool - Lets you compile, print, update, and verify asset catalogs.
- assetutil - Lets you process car files and produce a JSON output.
5. Process Info.plist
In this stage, Info.plist is processed and checked for any missing or invalid keys. After processed it's copied into the .app bundle.
6. Linking
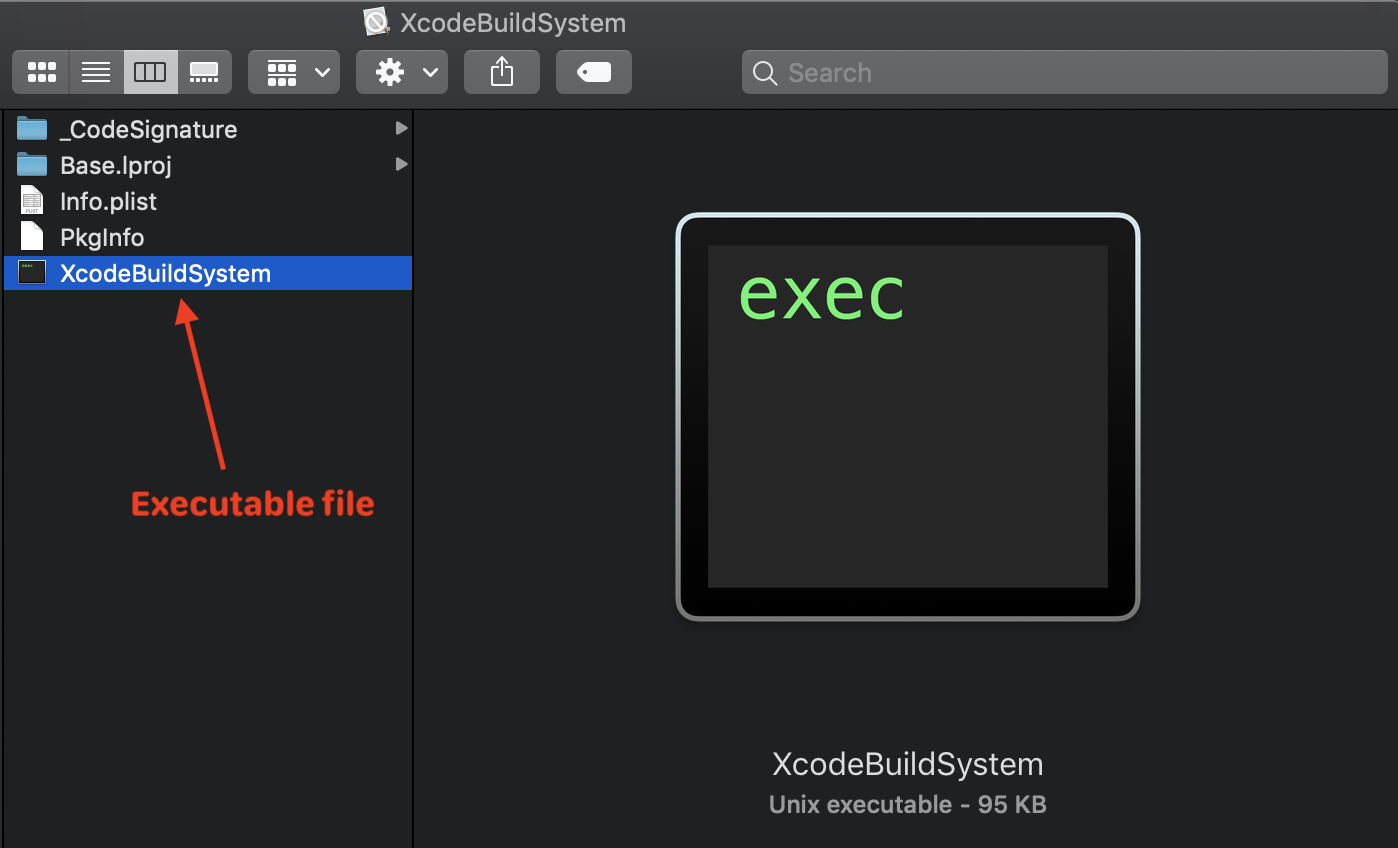
Above is a screenshot of the contents from XcodeBuildSystem.app.
In sections 1 and 2, we learned that all the source files are converted into their .o representations but, when we opened the contents of .app there is no .o file. Why?
Because they are all linked together to form an executable and we all know who did that 😉 yeah, it's the linker.
The linker takes two kinds of input files:
1. Object files (.o )
2. Libraries (.dylib, .tbd, .a)

So, Folks, that's it for this article. I hope now you have a good knowledge of what the compiler actually does when we build an Xcode project.
I'll be sharing some more in-depth articles on the swift compiler, optimization levels, clang, and other topics soon.
Stay tuned and do subscribe to get notified of other interesting topics!
- https://developer.apple.com/videos/play/wwdc2018/415/
- https://dmtopolog.com/code-optimization-for-swift-and-objective-c/
- https://swift.org/swift-compiler/#compiler-architecture
- https://clang.llvm.org/docs/CommandGuide/clang.html#description
- https://github.com/apple/swift/tree/master/lib


0 Comments